Ingredients:
1 pound of fresh asparagus
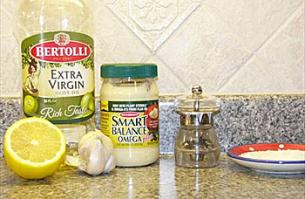
2 tablespoons of olive oil
1/3 cup of mayonnaise
1 clove of garlic - grated
1/2 teaspoon of salt - course
1/4 teaspoon of black pepper
1/2 lemon garnish
Asparagus, which is high in folic acid, potassium, fiber and vitamin B6, has only 4 calories per spear! With all that going for this delicious vegetable, it's no wonder asparagus has landed itself on menus everywhere. Start by rinsing off a pound of asparagus in a colander.
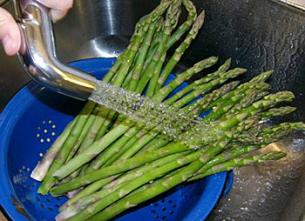
After a thorough washing, pat the spears dry with paper towels to get off any excess moisture. Now, break one stalk where it is naturally the weakest. This will separate the tender top part of the asparagus from its tough and fibrous stem. You will end up discarding about one third of the stalk.
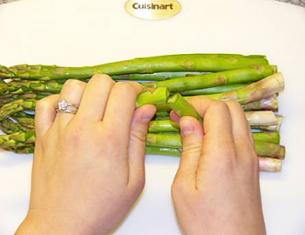
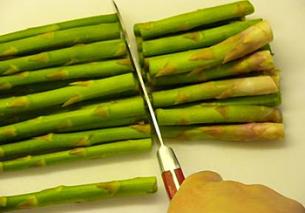
You can now use the new shorter "broken" asparagus as a guide to cut the rest of the bunch.
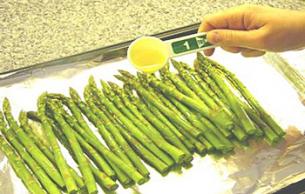
Spread the spears evenly on a baking sheet. For easy clean up, you can cover the sheet with a layer of tin foil before baking.
Drizzle 2 tablespoons of olive oil over the asparagus. Top with a few turns of freshly cracked pepper, and one half teaspoon of coarse salt.
Bake in a 425-degree oven for about 10 minutes.

While the asparagus are roasting, take a moment to make this simple and delicious dipping sauce. Just two ingredients are needed to make this sauce - garlic and mayonnaise. (The lemon is for garnishing the roasted asparagus.)
Start by peeling and grating one small clove of garlic.
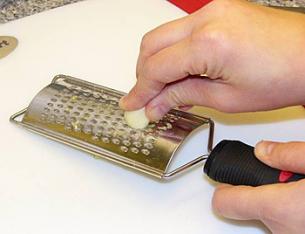
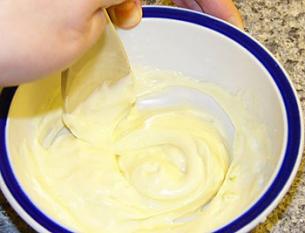
Then add the garlic to 1/3 cup of your favorite mayonnaise. I used low calorie mayo and didn’t miss a thing!
Stir until well blended and transfer to a decorative serving dish.
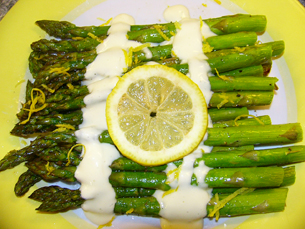
After 10 minutes in the oven, check the asparagus to see if it’s done. Look for slightly browned and caramelized stems, and a fresh bright-green color. Don’t overcook the spears, or they will become an unattractive, dull shade of pea-green.
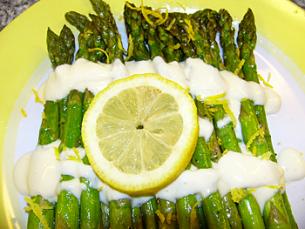
Next, transfer the asparagus to a serving platter and sprinkle with about a tablespoon of fresh squeezed lemon juice. Garnish the sauce with a bit of lemon zest (optional). Serve as an easy and healthy appetizer or finger-friendly side dish.